Soft & Fluffy Sourdough Sandwich Bread (Easy, From Scratch, Family Favorite)
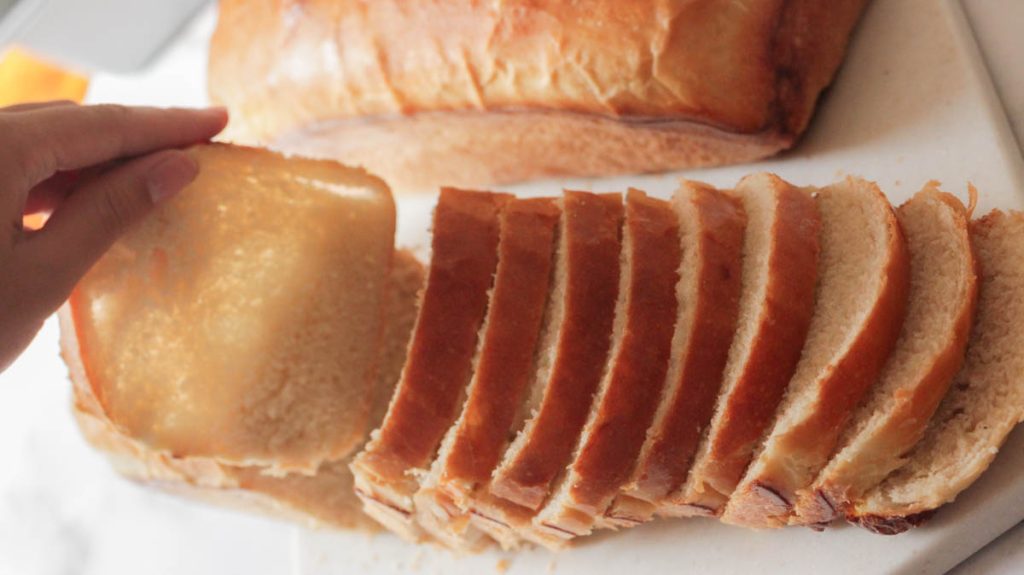
This soft and fluffy sourdough sandwich bread is easy to make, perfectly sliceable, and ideal for everyday meals. A simple, from-scratch recipe that brings cozy, homemade goodness to your family table.
There’s Something About Homemade Bread…
There’s a quiet kind of comfort that fills the kitchen when a loaf of sourdough sandwich bread is baking.
It’s not loud or fancy. Just the soft hum of the oven, the gentle rise of dough, and that warm, slightly tangy smell that tells you something good is coming.
I started making this bread during a busy season of life—when store-bought loaves just didn’t feel the same anymore. I needed something simple. Something steady. Something that could sit on the counter and say, you’re doing okay.
Now, this is the bread we reach for every day.
Toast in the morning with butter melting into every little air pocket. Peanut butter sandwiches for lunch. Thick slices beside a warm bowl of soup in the evening.
And the best part? It’s made with simple ingredients, a stand mixer (because we’re busy), and a rhythm that quickly becomes second nature.
Why You’ll Love This Sourdough Sandwich Bread
- Soft, fluffy texture (not dense or overly tangy)
- Perfect for slicing and sandwiches
- Made with active sourdough starter
- Uses a stand mixer for easy prep
- Freezer-friendly and family-approved
Ingredients

- 1 cup active sourdough starter (bubbly and fed)
- 2 1/2 cup warm water
- 1/4 cup honey (or 6 tablespoon sugar/maple syrup)
- 8 cups all-purpose flour (or bread flour for chewier texture)
- 1 1/2 teaspoons salt
- 1/2 cup coconut oil
Instructions
1. Mix the Dough

In a stand mixer bowl, add:
- sourdough starter
- warm water
- honey/ sugar
- butter/ oil
Mix until mostly combined.
Add flour and salt. Mix on low speed until a shaggy dough forms.
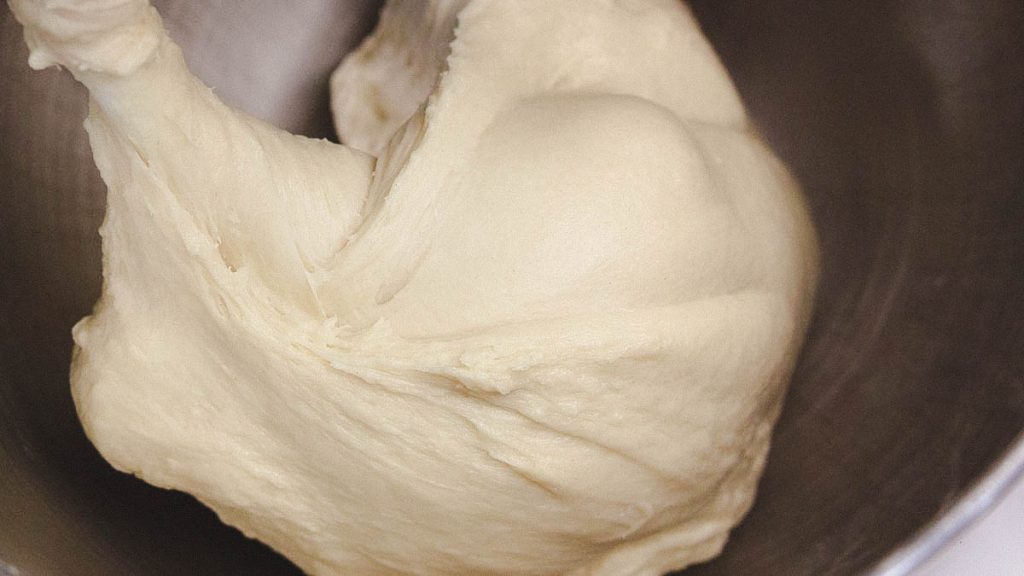
2. Knead (Easy Method for Busy Days)
Switch to a dough hook.
Knead on medium-low speed for 8–10 minutes, until the dough becomes smooth and elastic.
Tip: The dough should be soft and slightly tacky, but not sticky.
How to Perform the Windowpane Test on Sourdough Dough (And Know When It’s Ready)

Carefully stretch it outward using your fingers.
Turn it slightly as you stretch to keep it even.
Hold it up to the light.
If the dough stretches thin enough that light passes through without tearing, you’ve passed the test.
It should look soft, smooth, and slightly translucent—like a thin piece of doughy fabric.
What If It Tears?
Don’t worry—this is part of learning.
If your dough tears quickly:
- Gluten is not fully developed yet
- The dough needs more work or rest
What to Do Next:
- Let it rest for 15–30 minutes (this alone can improve it!)
- Do another round of stretch and folds
- Knead a bit longer if needed
Then test again.
Signs You’ve Passed the Windowpane Test
You’ll know your dough is ready when:
- It stretches easily without tearing
- It feels smooth and elastic
- It forms a thin, translucent “window”
- It has a soft, slightly bouncy feel
This is when your dough is strong enough to trap gas and rise beautifully.
3. First Rise (Bulk Fermentation)
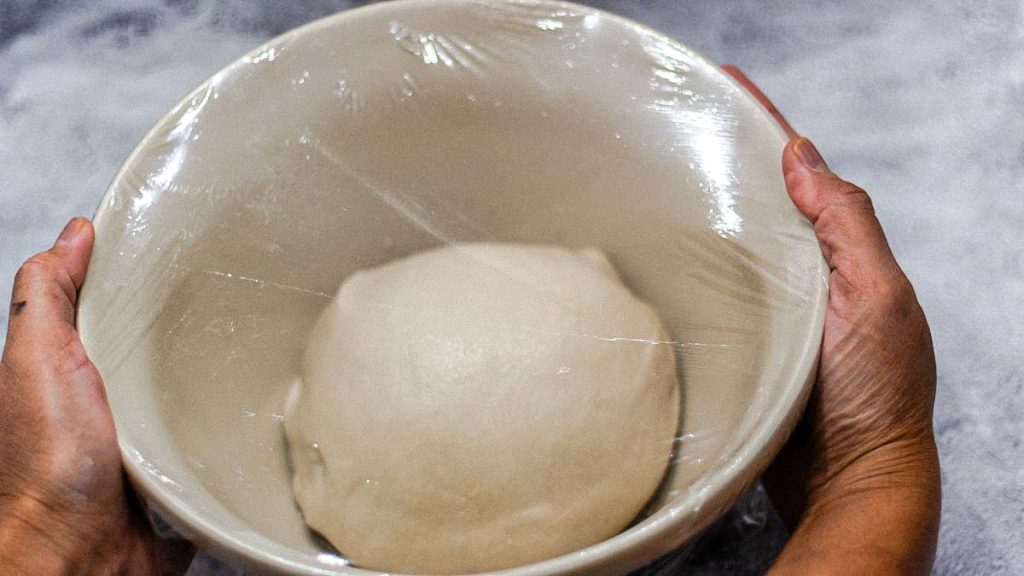

Place dough in a lightly greased bowl.
Cover with a towel or lid.
Let it rise at room temperature for 8–12 hours (overnight works well).
Teaching moment:
Sourdough takes its time. A slow rise builds flavor and gives you that soft, airy texture.
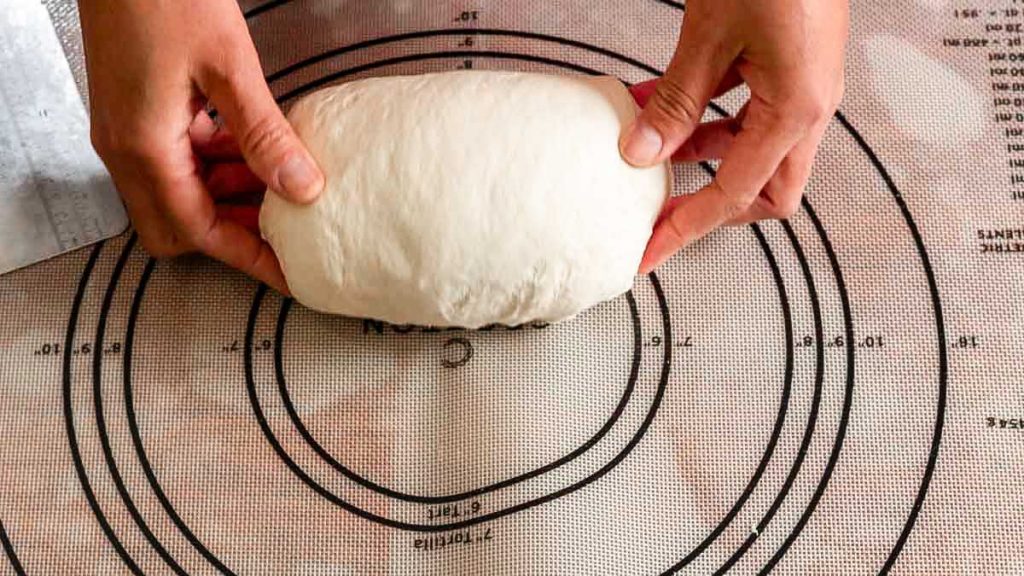
4. Shape the Loaf

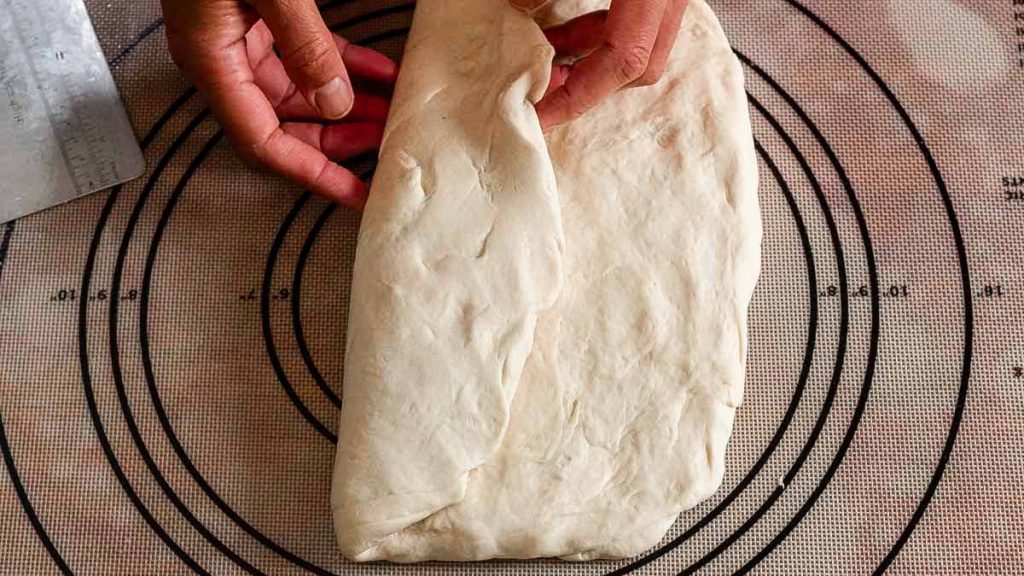

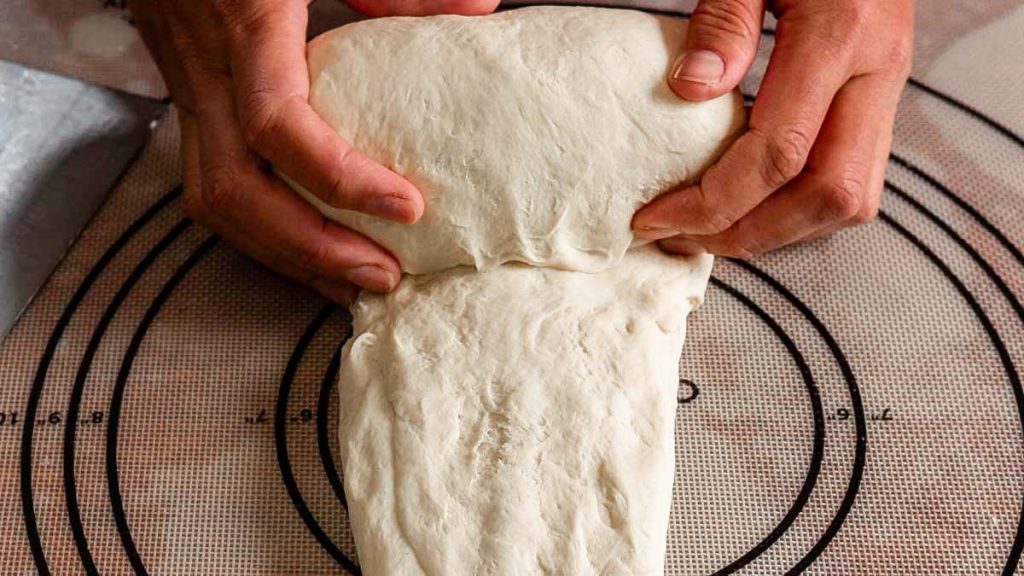
Lightly flour your surface.
Gently press the dough into a rectangle.
Roll it up tightly (like a log), tucking the ends under.
Place into a greased loaf pan.

5. Second Rise
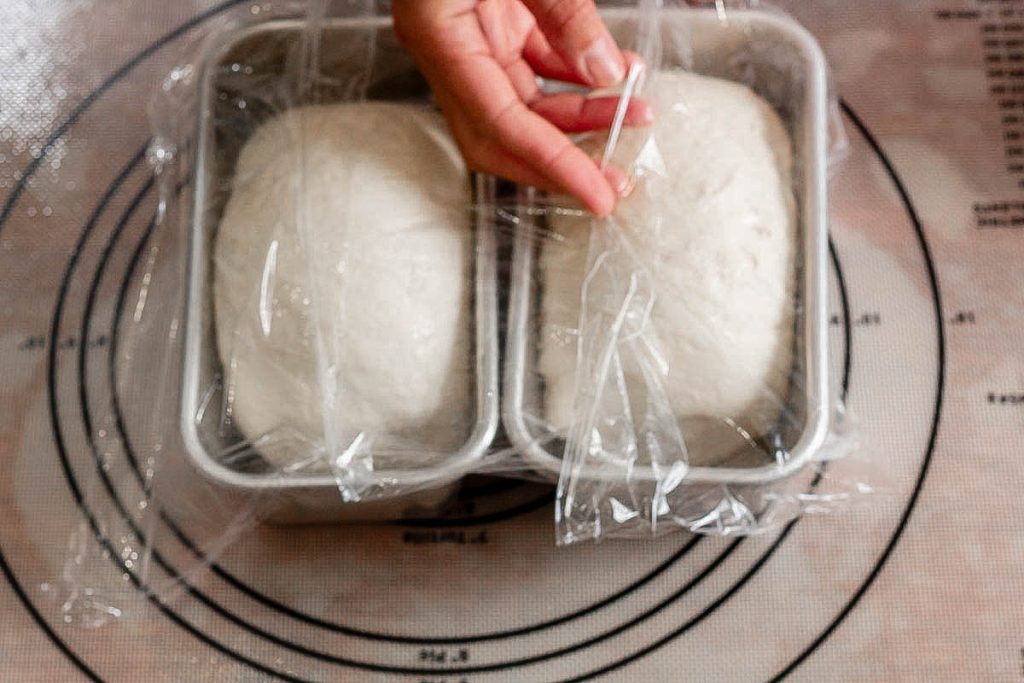

Cover and let rise for 2–4 hours, until the dough rises just above the pan.
Tip: If your kitchen is cool, place it near the oven with the light on.
6. Bake
Preheat oven to 375°F.
Bake for 35–40 minutes, until golden brown.
If the top browns too fast, loosely cover with foil.
7. Cool Before Slicing
Let the bread cool in the pan for 10 minutes.
Then transfer to a wire rack.
Important: Wait at least 1 hour before slicing. This keeps the crumb soft and not gummy.
Notes & Baker’s Tips
- Want softer crust? Brush with butter right after baking
- Dough not rising? Your starter may need feeding or a warmer spot
- Too dense? Try a longer rise or switch to bread flour
- For extra softness: Add 1–2 tablespoons milk powder
Variations
- Whole Wheat Version: Replace 1 cup flour with whole wheat
- Honey Oat Bread: Add 1/4 cup oats to dough
- Milk Bread Style: Replace water with warm milk

Soft and Fluffy Sourdough Sandwich Bread
Ingredients
- 1 cup active sourdough starter bubbly and fed
- 2 1/2 cup warm water
- 1/4 cup honey or 6 tablespoon sugar/maple syrup
- 8 cups all-purpose flour or bread flour for chewier texture
- 1 1/2 teaspoons salt
- 1/2 cup coconut oil or butter 113 grams
Instructions
- In a stand mixer bowl, add: sourdough starter, warm water, honey/sugar/ oil or butter.Add flour and salt. Mix on low speed until a shaggy dough forms.
- Switch to a dough hook.Knead on medium-low speed for 8–10 minutes, until the dough becomes smooth and elastic.
- Place dough in a lightly greased bowl.Cover with a towel or lid.Let it rise at room temperature for 8–12 hours (overnight works well).
- Lightly flour your surface.Gently press the dough into a rectangle.Roll it up tightly (like a log), tucking the ends under.Place into a greased loaf pan.
- Cover and let rise for 2–4 hours, until the dough rises just above the pan.
- Preheat oven to 375°F.Bake for 35–40 minutes, until golden brown.If the top browns too fast, loosely cover with foil.
- Let the bread cool in the pan for 10 minutes.Then transfer to a wire rack.
Notes
- Want softer crust? Brush with butter right after baking
- Dough not rising? Your starter may need feeding or a warmer spot
- Too dense? Try a longer rise or switch to bread flour
- For extra softness: Add 1–2 tablespoons milk powder
Storage Tips
- Store at room temperature in a bread bag for 3–4 days
- Freeze slices for up to 3 months
- Toast straight from frozen
Suggested Pairings
- Fresh butter and jam
- Scrambled eggs and avocado
- Homemade soups and stews
- Grilled cheese sandwiches
- Coffee or warm tea